We're loving the fringe sandal trend happening right now. So today, we're showing you how to make a fun, colorful version really (really) easily! Here's how…
You'll need:
-inexpensive wide strap sandals
–fringe trim from the craft store
-scissors
-hot glue
Here's how:
1. After deciding what color fringe you want to put on your sandals, lay the first piece of fringe ribbon across the bottom edge of the strap. Measure the width it needs to span and cover the strap. Then trim with scissors.
2. Using a hot glue gun, glue the edge of the fringe ribbon to the sandal strap.
3. Repeat with the next row so that the second row of fringe overlaps slightly with the first and you don't see any of the strap between each row of ribbon. Glue this second piece to the sandal strap.
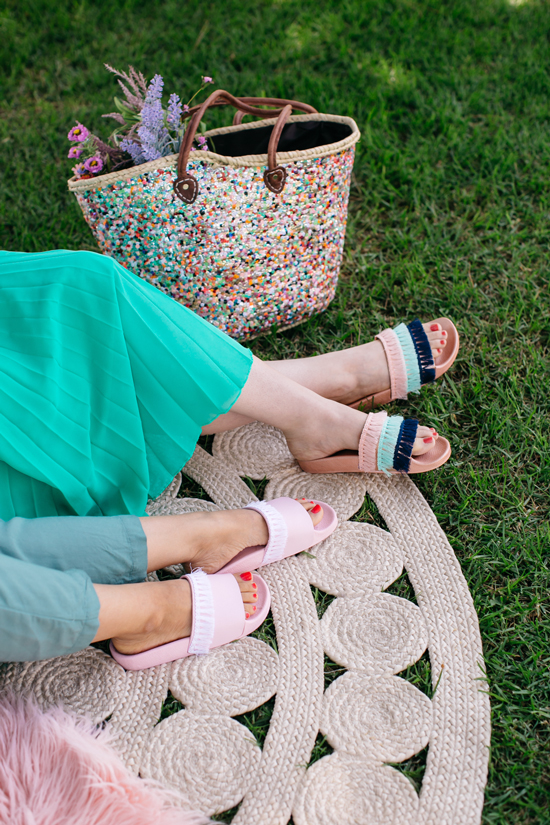
4. Repeat until you get the number of rows to your liking and let dry for five minutes. We made one pair with just a single row and the other pair with three rows to fill the whole strap.
Now go enjoy your fun new summer slides!
{Photos by Lily Glass. Prop styling by Julia Wester, Crafting by Jess Hong}
Ah! I love this simple DIY! It’s so cute and so simple! I was going to try to makeover my gladiator sandals for a blog post but also just love your take on this so much!
Thanks Lisa!
Joy
How fun and pretty! It’s definitely perfect for the summer time. 🙂
Love this! I’m definitely a hot glue (or any glue) project kind of girl! Even glued my wedding dress together!
Hot glue is the best!
Joy
Great work you done it in your post. Loved it. I will try it later. It looks beautiful.
Oh my gosh, that looks like even I could do it! Weekend project for sure 🙂