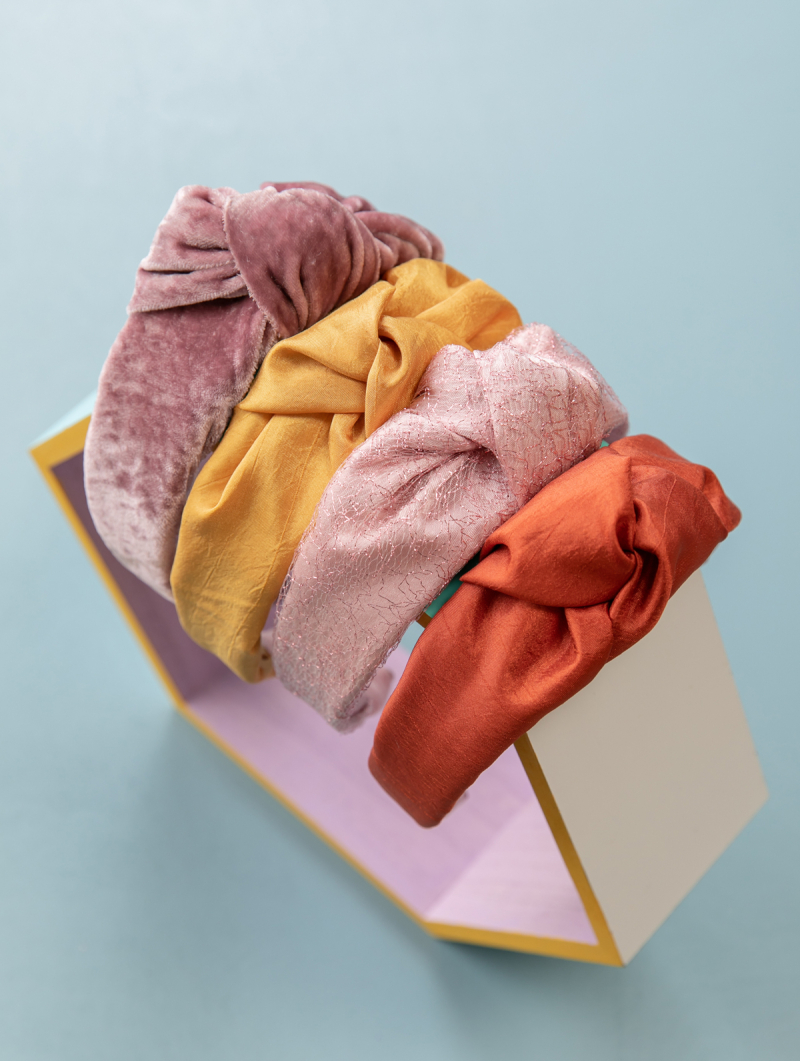
We're ready for cooler weather, big chunky sweaters, and lots of fun fall accessories! So today, we're showing you how to make one of our favorite trends for the new season…sophisticated knotted headbands! They add a pop of color to any outfit, can be dressed up or down, and are surprisingly super easy to make. If you love them, too, but don't want to spend a ton of money on hair accessories, here's how to make your own…
You'll need…
– fabric (ours is velvet, satin, and mesh from Joann Fabrics)
– fabric scissors or rotary cutter
– ruler
– headband
– hot glue gun
– ribbon
Here's how…
1. Cut out a rectangle of fabric about 3.5×5".
2. Use the rotary cutter and ruler to cut out a section of fabric about 6×24".
3. Fold the large section in half lengthwise and use hot glue gun to glue the two sides together.
4. Turn the fabric inside out.
5. Use hot glue gun to glue the smaller piece of fabric around the top middle of the headband.
6. Wrap the long piece of fabric around the center of the headband, making sure there's equal amounts of fabric on each side and tie a loose knot. For more volume, you may want to pull the knot out a bit and fluff it up.
7. Wrap the rest of the fabric around the sides of the headband with glue gun.
8. Finish the ends by trimming any excess fabric and fold the ends up into the inside of the headband.
9. Use a short strip of ribbon to wrap around the end, and glue for a cleaner finish.
It's super chic and looks great on a variety of hair types!
{Photos by Lily Glass. Concept/Production/Styling by Julia Wester, Production Assistance by Jess Hong. Written by Traci Michael.}
Thank you so much for sharing, this has been super helpful
[email protected]