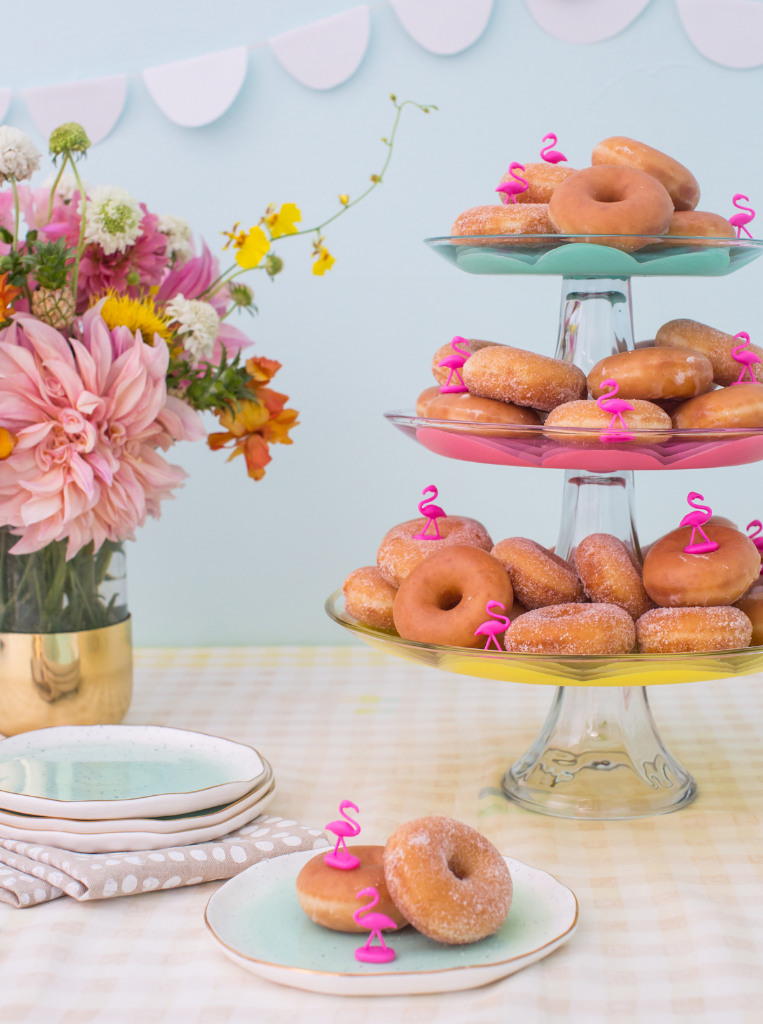
Happy Friday! What's cuter than a plate of mini doughnuts?! A pretty painted cake stand with a pile of mini doughnuts on top ;). Glass stands are a classic in my mind, but they do often need a pop of color. So today, we're showing you how you can dress up a plain cake stand in just a few simple steps. It's perfect for a birthday party, baby shower, or a brunch with friends! Check it out…
You'll need…
– cake stands
– acrylic paint (Beach Glass, Camellia Pink, Chamomile)
– dry erase marker
Here's how…
1. On the top side of the cake stand, draw an outline of shape you'd like with a dry erase marker.
2. Flip the cake stand over and paint underneath, following the pattern you drew on the top. Let dry for 10 minutes and add another layer of paint as needed. Wipe off the marker on top.
3. Bake the cake stands 300 degrees F for 30 minutes. The baking melts the paint into the glass giving it more permanence to the design, and it can be hand-washed after!
Finally, use the stand for any kind of bite-sized treats! We recommend mini donuts for breakfast, lunch, or dinner! ;P Have a great weekend!
Sources shown: Benjamin Moore Barely Teal paint, West Elm gold vase (past season), Sugar & Cloth plastic forks, Julie Peach napkins, Anthropologie plates (past season), Ikea glasses.
{Photos by Lily Glass. Styling by Wilmarose Orlanes, styling assistance and crafting by Jess Hong.}
SO CUTE
Thanks Kathleen!
Joy
I love the idea..now it looks more enticing.
Love it!
Thanks for sharing!
I’m a fan of DIY stuff and I find this interesting.
Awesome Ideas, love it
DIY’s are really good. Love the idea.
Great DIY idea. I can use this for my cakes.
Can you use this method with a ceramic cake stand?
What a beautiful cake stands! I love the way it is designed. Thanks for sharing this beautiful idea with us.