As we start off the new year on the right foot, I asked our friends at Botanica to share a delicious, guilt-free snack that we could have any time of the day. Their yogurt mousse brings yogurt to a whole new level! Here’s how to make it…
A few notes: In order to do this mousse justice, you’ve gotta start with good, thick yogurt. Our go-to is Aris, a thick sheep’s milk variety available around California. You can also use Greek yogurt purchased at any local grocery store. As long as you get your hands on a yogurt that has some heft (and tang!), you’re golden. Also important? Good eggs. Keep in mind you’re eating the whites raw, so you want them to come from a happy place!
You’ll need:
Makes 2 ample servings (or 4 smaller servings)
– 3 happy eggs
– 2½ tablespoons honey (or more, if you want it sweeter)
– 1¼ cup delicious plain yogurt
– 1 tablespoon orange or lemon zest
– 1 vanilla bean, halved, seeds removed
Here’s how:
1. First, separate your eggs. Add the whites to the bowl of a stand mixer or a big mixing bowl (if you have a handheld mixer). Save the yolks for another use (aioli, namely).
2. Beat the whites until light, fluffy and semi-firm.
3. Pour the honey into a small saucepan set over medium heat. When it bubbles, turn your mixer back on and stream the honey very slowly into the egg whites, beating all the while, until a stiff meringue forms. It should be glossy and form stiff peaks if you dip a finger in it.
4. In a medium bowl, mix the yogurt, orange or lemon zest and seeds from the vanilla pod. Then gently fold the rest of the meringue into the yogurt in a few batches (we use a silicone spatula), making sure everything is incorporated, being very careful not to deflate it. Stir through a spoonful of meringue to loosen the yogurt a bit. The mousse should be light, fluffy and hold together well.
5. Spoon it into your serving vessel of choice (ramekins and teacups are nice), then chill in the fridge for at least an hour (preferably more, if you want it nice and cold — but note that it will separate a bit as it sits and will need a gentle stir before serving).
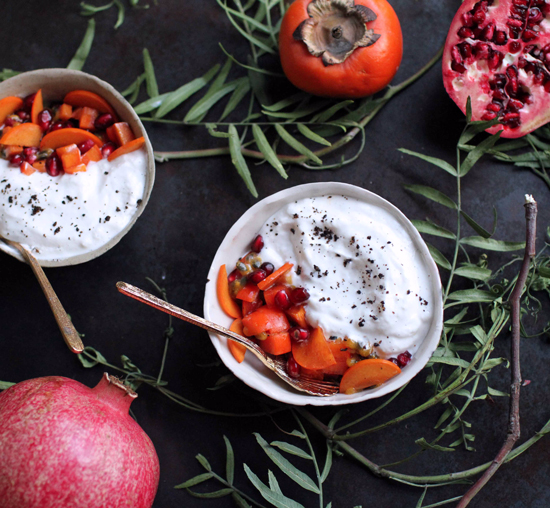
We serve it with whatever fruit is in season — berries or stone fruit in summer, fresh citrus segments in winter — and any toasted nuts and seeds we have lying around. Feel free to experiment with different zests and spices, and serve this with any and all fruits and compotes. You seriously can’t go wrong with this one.
{Photos and recipe by Botanica}
Looks good. 🙂
I’m definitely going to try it!
looks sooo good and healthy!
This yogurt mousse looks SO good! Will definitely need to give it a try soon 🙂
why not make it really guilt free and try a plantbased option?
it is so easy nowadays and also much more healthier.
all the best
m
You seriously can’t go wrong with this one.